

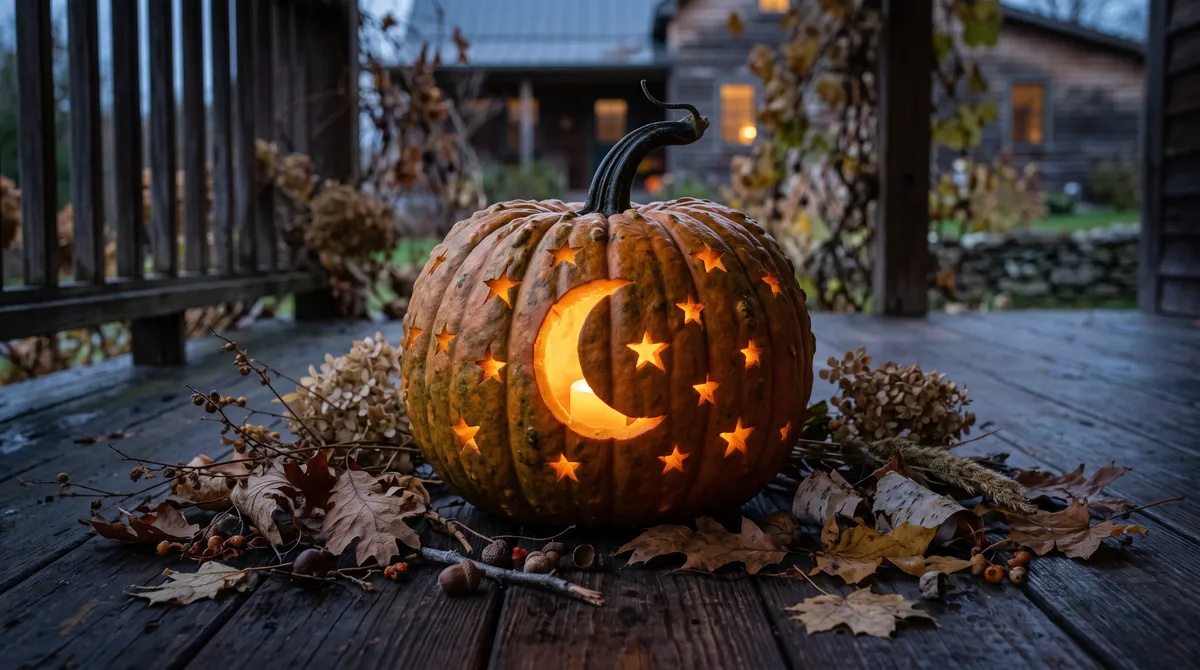
- Crescent moon and stars
A triangle-eyed pumpkin has its place, but it’s not the only way to make a porch feel like Halloween. The best pumpkin carving ideas often start with a different question: what would look good glowing from across the yard, or sitting on a dining table after the party starts?
You can carve leaves, constellations, geometric patterns, or a simple crescent moon without needing professional tools. The trick is matching the design to the pumpkin’s shape and deciding how much time you want to spend scooping, sketching, and cutting. Below are approachable options, plus practical notes on tools, lighting, and cleanup so your pumpkin looks intentional rather than like a craft project that got away from you.
Start with the pumpkin, not the pattern
Before you pick a design, turn the pumpkin around. Look for a broad, relatively smooth side and check that it sits steadily. A tall, narrow pumpkin suits vertical motifs such as a tree or a column of stars. A squat pumpkin gives a wide canvas for a moon, a face in profile, or a repeating pattern. A few natural bumps can make a design more interesting; they’re less helpful if you’re trying to cut a precise grid.
For a first attempt, choose a pumpkin with firm skin and a flat base. Wash and dry it, then sketch on the surface with a washable marker. If you’re using a paper pattern, tape it in place and prick small guide holes along the lines. Keep the design simple enough that the remaining pumpkin flesh forms sturdy bridges between cutouts. Thin, isolated pieces can snap while you work.
Think about where the pumpkin will live, too. A porch display needs bold shapes that read from several feet away. A centerpiece can use smaller details because guests will see it up close. If you’re carving a window or leaf pattern, leave enough solid pumpkin between openings to keep the shell strong.
9 pumpkin carving ideas worth trying
These designs range from quick cutouts to more detailed work. The time estimates assume a single pumpkin and basic hand tools; add time if you’re working with a large pumpkin or drawing a pattern from scratch.
Draw a crescent on one side and scatter a few stars around it. Cut the moon as one large opening, then use a small tool for the stars. It’s a strong choice for a porch because the big shape stays readable at night.
Materials: marker, small carving saw, scoop. Cost: about $5–$15 if you need a basic tool set. Difficulty: easy. Time: 30–45 minutes.
- Botanical leaf windows
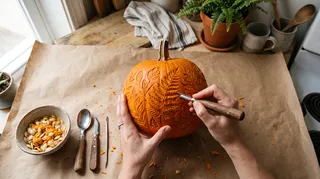
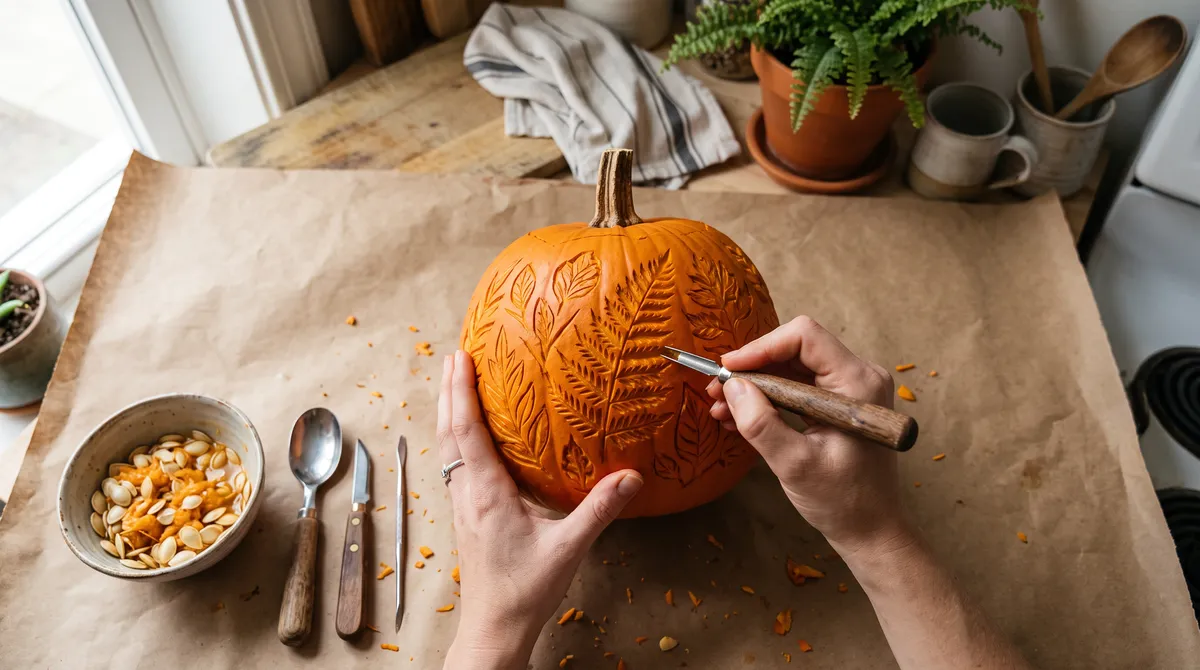
Use a few oversized leaves rather than a dense all-over pattern. Maple, fern, and ginkgo shapes each have a clear outline, and the openings cast attractive shadows. I’d keep the veins broad; delicate lines are easy to break when you cut through the shell.
Materials: washable marker, carving saw, small knife for details. Difficulty: easy to moderate. Time: 45–75 minutes.
- Geometric diamond lattice
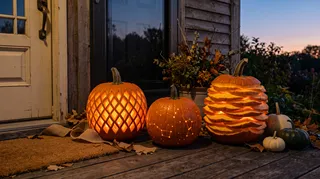
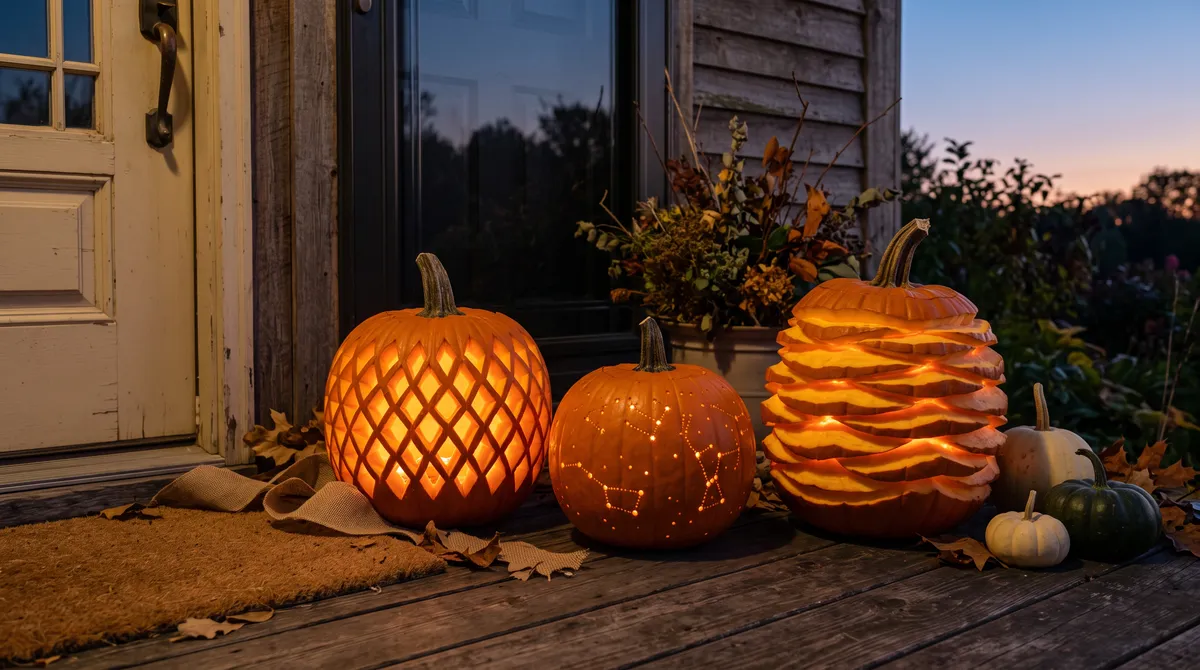
Mark a loose grid of diamonds and remove alternating shapes. This looks polished without requiring a complicated drawing. Leave generous strips between openings, especially near the top and bottom, so the pumpkin doesn’t collapse.
Materials: ruler, marker, carving saw. Difficulty: moderate. Time: 45–60 minutes.
- Constellation dots
Skip the large cutouts and make clusters of small holes in star-like arrangements. A hand drill can help, but a pumpkin carving tool also works. Vary the hole sizes for a softer, less mechanical look.
Materials: carving tool or hand drill, marker. Difficulty: easy. Time: 20–40 minutes.
- A crescent-shaped side profile
Draw a simple face in profile, then carve the surrounding area so the face remains as a raised silhouette. This is a little more involved than cutting out a face, but it creates a sculptural effect when lit from inside.
Materials: small carving saw, detail tool, marker. Difficulty: moderate. Time: 60–90 minutes.
- A row of tiny haunted-house windows
Cut a simple skyline along the lower half of the pumpkin, with a few square windows and one crooked roofline. Keep the buildings chunky rather than intricate. This is a fun option for a long, oblong pumpkin.
Materials: marker, carving saw. Difficulty: moderate. Time: 45–75 minutes.
- Scalloped edge or punched border
Carve a band of repeated arches, dots, or small triangles around the middle. A border is forgiving: if one section is uneven, the repetition makes it look handmade rather than mistaken.
Materials: marker, small saw or punch tool. Difficulty: easy. Time: 30–50 minutes.
- Layered pumpkin stack
Carve a simple pattern into two pumpkins and stack them, using a stable base and a battery-powered light in each. A small top pumpkin can become a moon, a crown, or a simple silhouette. Check that the stack cannot tip before placing it near a walkway.
Materials: two pumpkins, carving tools, battery lights. Difficulty: moderate. Time: 60–90 minutes.
- A carved-and-painted mix
Paint broad areas in a matte color, then cut a few openings through the unpainted sections. The contrast can make a simple pattern feel more graphic. Use paint intended for craft projects and let it dry fully before carving; avoid painting the inside where the light sits.
Pick a design that fits your time and tools
Not every pumpkin needs a complicated stencil. If you have half an hour, choose a constellation or a simple border. If you have an evening and enjoy careful work, try a botanical pattern or a silhouette. I prefer a few confident openings over a crowded design: the light has room to shine, and the pumpkin is less likely to split.
| Design | Best pumpkin shape | Useful tools | Approx. time | Skill level |
|---|---|---|---|---|
| Crescent moon and stars | Round or tall | Carving saw, scoop | 30–45 min | Easy |
| Botanical leaves | Broad, smooth side | Marker, small saw | 45–75 min | Easy–moderate |
| Diamond lattice | Round, firm shell | Ruler, carving saw | 45–60 min | Moderate |
| Constellation dots | Any shape | Punch tool or hand drill | 20–40 min | Easy |
| Haunted-house skyline | Oblong | Marker, carving saw | 45–75 min | Moderate |
A few practical choices make the work easier. Cut a lid around the stem if you want traditional access, or cut a flat opening at the bottom if you’d rather lower the pumpkin over a light. Scoop the inside until the wall is roughly 1 inch thick; thinner walls are easier to cut but less sturdy. Work slowly with the saw, using short strokes instead of forcing the blade through the shell.
For a display that includes other seasonal decor, it can help to preview the overall colors and proportions before you buy anything. You can sketch the porch or entryway in Homestyler and see whether a bright orange pumpkin, a dark green one, or a cluster of smaller pumpkins fits the space.
Make the glow work, then keep the pumpkin safe
A design that looks clear in daylight can disappear after dark if the openings are too small or the light is too dim. Before carving, hold a flashlight inside the pumpkin and check how the shell glows. For a porch or a home with children and pets, a battery-powered LED light is the sensible choice. It avoids an open flame and can be switched off without reaching into the pumpkin.
If you do use a candle, keep the pumpkin on a stable, nonflammable surface, away from dry leaves, fabric, and foot traffic. Never leave it unattended. A battery light also makes it easier to place a pumpkin near a doorway without worrying about a flame in a busy spot.
To help a carved pumpkin last, keep it cool and out of direct sun when it’s not on display. Scrape away loose pulp, and wipe the cut edges dry. If the pumpkin starts to soften or smell, it’s time to compost it. Don’t try to rescue a collapsing shell with extra carving; that usually turns a small problem into a porch cleanup.
For a rental or a shared entry, keep the display freestanding. A tray or shallow basket catches seeds and moisture, and it means you don’t need to attach anything to the door or railing. If you’re planning a full seasonal setup, Homestyler can also help you test the arrangement before you move heavy planters or furniture around.
Choose one idea and make it yours
The most successful pumpkin isn’t necessarily the one with the most cuts. It’s the one whose pattern suits its shape, whose light is bright enough to read, and whose details you can finish without rushing. Start with a moon, a leaf, or a handful of constellation holes. If you enjoy the process, add a second pumpkin with a different scale or pattern.
Homestyler's roots trace back to Autodesk, the global leader in design and engineering software. That heritage lives on in every feature we build. Today, with a community of more than 20+ million registered users (platform data, 2026) worldwide, Homestyler continues to make professional-quality interior design accessible to everyone — from first-time decorators to seasoned architects.
Set out your tools before cutting, keep the design bold, and use a battery light if the pumpkin will sit near people or dry decorations. For a quick visual check of your porch colors and layout, try Homestyler. Then pick up the carving saw and give the classic jack-o’-lantern a little competition.
Дизайн сейчас бесплатно