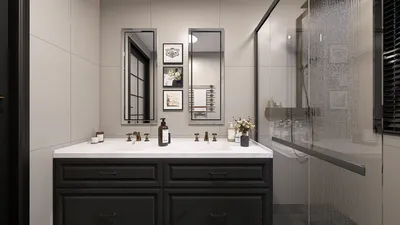


Reducing the size of a 3D model may seem intimidating at first, especially for newcomers to the realm of 3D design. However, there's no need for concern! Whether you're preparing for a compact print or optimizing for a showcase in a virtual environment, the process of scaling down can be quite simple. Here’s an easy guide to adjusting your model’s dimensions effectively.
Recognizing the Significance of Scaling
The dimensions of a 3D model are vital to its functionality. When a model is oversized, it can create complications during rendering or printing. Have you ever encountered a scenario where your model wouldn't fit as intended? By understanding the principles of scaling, you can prevent such challenges and ensure your design serves its purpose efficiently.
Steps to Successfully Reduce the Size of Your 3D Model
1. Begin by launching your preferred 3D modeling software, whether it’s Blender, AutoCAD, or SketchUp. Each of these platforms features a scaling function; locate the 'Scale' option typically found within the primary tools or the modify menu.
2. Choose the object you intend to resize. After selecting your model, identify the resizing options available. You’ll generally find a field where you can input the new dimensions, either expressed as a percentage or in specific measurement units. Precision during this step is key to accurate scaling results.
3. To ensure accuracy, establish the percentage by which you wish to decrease the model’s size. For instance, reducing by 50% will cut the dimensions in half while retaining the original proportions. Have you considered the final size necessary for your project to guarantee proper fit within its designated space?
4. Once you’ve adjusted the scaling parameters, confirm the changes and inspect your model to ensure that everything appears correctly proportioned. It’s essential to check for any visual discrepancies post-scaling, as resizing can sometimes influence the integrity of complex shapes.
Strategies for Preserving Quality After Resizing
Downsizing might occasionally result in a loss of detail, especially with complex designs. Should your model feature intricate elements, think about using optimization tools to refine the mesh. Employing advanced strategies will aid in preserving crucial details as you resize, thus improving the overall quality of your scaled model.
5. Lastly, export your resized model in your preferred file format. Be sure to double-check the dimensions prior to saving to avoid any unexpected complications later! A thorough examination at this point can save you a significant amount of time and effort.
Frequently Asked Questions
Q: Can I reduce a 3D model's size directly within CAD software? A: Absolutely! Most CAD programs facilitate direct scaling via built-in functions, enabling you to resize models without needing to start anew, thus streamlining your workflow.
Q: Will decreasing the size affect the quality of my model? A: Yes, it may impact quality if the model contains fine details. Make use of optimization tools to retain those details to your satisfaction, ensuring that your final product aligns with your expectations.

Modern Minimalist Solid Wood Two Drawer Office Desk 3D Model

Minimalist Black Metal Solid Wood Height Adjustable Standing Desk 3D Model
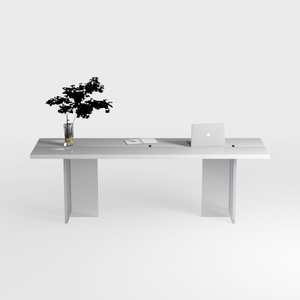
Minimalist Modern White Office Conference Desk 3D Model
Discover your home's potential with Homestyler! This user-friendly online design platform offers powerful 3D rendering, inspiring design projects, and engaging DIY video tutorials. Whether you're a novice or expert, Homestyler makes designing your dream space easy and enjoyable. Start creating today!
Дизайн сейчас бесплатно
































