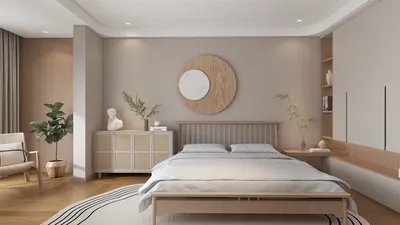


Are you interested in exporting your floor plan from Homestyler? You've landed in the right spot! Homestyler is an excellent design application that empowers users to craft intricate floor plans and stunning interior layouts. Whether you're a seasoned designer or a DIY aficionado, being able to export your designs is vital for sharing your creative vision with others. In this comprehensive guide, we'll outline the steps needed to export your floor plan, ensuring you're fully equipped to begin your project.
How to Export Your Floor Plan
To export your floor plan using Homestyler, ensure your design is finalized. Once you’re happy with your arrangement, simply follow these straightforward steps:
1. Navigate to the 'File' menu located in the top-left corner. 2. Choose 'Export' and then select either 'Export as Image...' or 'Export as PDF...' according to your requirements. 3. Follow the on-screen instructions to save your file in your desired format.
Tips for Optimal Exporting
When you export your floor plan, keep these tips in mind to enhance the quality of your final output:
- Opt for high-resolution settings to obtain clearer images. - Adjust the scale of your design to accommodate your export preferences. - Test various formats to discover which best suits your project needs.
FAQ
Q: What file formats are available for exporting my floor plan? A: With Homestyler, you can export your floor plan as an image (in JPEG or PNG format) or as a PDF document.
Q: Is it possible to export 3D views as well? A: Absolutely! Homestyler allows you to export 3D views in multiple formats.
Welcome to Using a Free 3D Floor Planner

Minimalist Linen Solid Wood Three Seat Sofa 3D Model
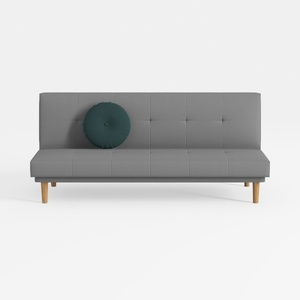
Minimalist Gray Fabric Tufted Armless Sofa Bed 3D Model

Minimalist Fabric L Shaped Sectional Sofa with Ottoman 3D Model
Homestyler makes home design effortless and enjoyable for everyone! With its user-friendly online design tool, stunning 3D renderings, and a treasure trove of DIY video tutorials, you can explore a world of creative possibilities and turn your design dreams into reality.
Дизайн сейчас бесплатно
































